Have you learned a valuable skill that you think others would be willing to pay to learn that skill as well? After recently creating my own online course, Instagram Growth Hacks, I want to teach you how to create your first online course.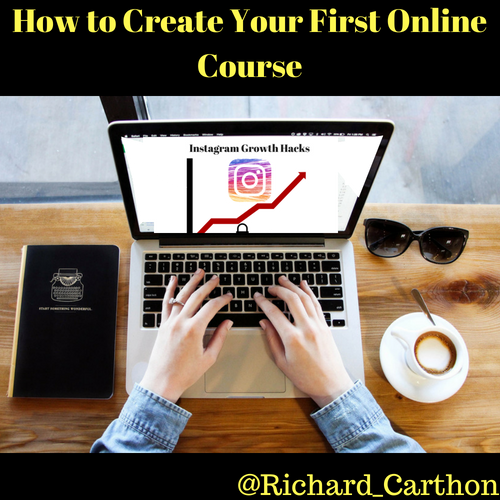
1) Host Your Course Online
The first thing you need to have for your online course is the ability to host it online. There are multiple services out there such as Skillshare, Udemy, and multiple others. Generally these services are good for people who do not already own their own website. I am fortunate to own my own website, so I sought out a service that I could build on top of my website. I found Lifter LMS, which is what I was able to use to build my course for my WordPress website.
The reason I have placed this at number one is because you need to be thoughtful of the costs associated with creating your online course. There are upfront and potential recurring costs associated with creating your course and you need to properly account for these before diving in. It is an investment to get this started so make sure you have an idea of the price point you are going to sell your course at to ensure a return on your investment that is worth your time and efforts.
2) Pick a Topic and Outline Your Course
It is important that you pick a topic that you would consider yourself in expert in. Speaking from a place of knowledge from your own trial and errors and giving examples based on your own experiences adds to your credibility and overall effectiveness of your course.
After you know your topic, you should create a thorough outline of what the course will teach. Start with creating headlines of skills that you want your students to learn. Then under each headline describe the lessons that will give a deeper explanation of that skill. By the end of your outline you should have a clear lesson plan to teach on the topic you have chosen.
This outline can extend to a script for your course if you feel you need one. I personally did not use a script and recommend not using one because your personality shines more when you present and you sound less robotic. I personally feel that if you truly know what you are talking about it then it should flow freely while you record your course. Use the outline as main talking points then let your personality and experiences shine in your lessons.

3) Create Branding Material
After you have created your outline, I would create a powerpoint presentation. While you are recording your online lesson, you will need this powerpoint as a visual while you speak to your students so that they can follow along (unless your entire course is an interactive demo). It is important to include your branding throughout the presentation to reinforce brand recognition.
With this in mind, it is time to let your creative juices flow and create some initial marketing material for your course and presentation. This is important because you need to create both a captivating title for your course as well as a visual that will compel people to checkout your course. You need to create a logo for your course. If you want to create your own, I recommend using canva (which is what I used); however, if you do not mind spending money, I would go to Fiverr and hire someone to create a logo for you.
Your brand is essential to whether or not your course will sell. Yes, having great material is important, but people will not get to the material if the brand is not strong enough. Take a solid amount of time to make sure your branding is where you want it to be. Get some honest feedback from friends and family before moving forward with recording your course.
4) Record Your Course
Now that you have your branding and presentation it is time to record your course. There are several free ways to do screen recordings for your computer or even your phone, but there are some paid programs that you can use as well. I did all of my recordings using free tools. I have a MacBook Pro and used QuickTime Player. I used my iPhones screen recording to do my interactive recordings. I suggest doing some research and figure out which method of recording works best for you.
After you have recorded your lessons, you are most likely going to need to edit them clean them up. Again there are several paid tools that you can use for video editing, but I personally used iMovie edit all of my lessons for my course. After I got all of my lessons looking and sounding how I would like, I uploaded them to YouTube as unlisted videos. Depending on what course platform you are using, follow their directions of how to setup these videos in the proper order for your course.
Now that you have version 1.0 of your course, it’s time to get some constructive feedback.

5) Get Feedback and Make Adjustments to Course
This was one of the most important aspects of this entire course building process for me. I made the decision that I would get 5-10 people to take my course early for free in exchange for feedback. I am grateful that my girlfriend, Carly, made the suggestion to make a google form so I could make it easy for my early users to give feedback and allow me to compare and contrast all of the feedback I received.
One major lesson I learned from the feedback I received is to make sure you have multiple responses from a diversified test pool and wait until they are all done. One person may be feel very negative and strongly about an aspect in your course that may make you consider changing your entire course. Then after waiting to receive more feedback from others, you realize the majority of the people loved that aspect of the course. Be patient and wait for a full picture of responses before trying to make adjustments to your course.
Once you have all the feedback you need, take the time and make all of the adjustments you know you need to make to improve your course. This can feel redundant and frustrating, but power through it because it is going to make your course that much stronger for future students.
6) Make Sure Your Course Checkout Works
This may sound extremely obvious, but make sure with absolute certainty that your checkout process for your course works. It would be an absolute nightmare to launch your course and have excited customers sign up to find out they cannot start because they cannot pay due to a faulty system. Make sure that the payment process for your students is easy and seamless. Definitely double check to make sure that payments go through to whatever service provider you are using (I’m currently using Paypal).
7) Promote Your Course
No one understands the amount of time, energy, and stress you put into completing this course except for others who have done it, so I want to personally congratulate you for this feat! You have completed all the work, checked and recheck everything, and now it’s time to get your first customers! Promote your new course on all your social media, your blog or vlog, newsletter, and text messages. It is important to try them all to see which marketing vertical is worth putting more time, money, and energy into.
A great way to increase sales and get more eyes on your course is by setting up an affiliate program for your course. The same people that gave you feedback plus some of your friends can be great affiliates for your course. If you can give your affiliates coupon codes that you can track, you can setup a plan to compensate them for each course they help sell.
Start Making Money With Your Online Course Today!
Need help with the initial steps of setting up your online course? I can help! Contact me so that we can get started on your course today.